 PODspy

Mug design size starts with the mug you will actually sell. An 11 oz label tells you its capacity; it does not specify the printable width, height or handle clearance. Choose the exact product template first, then arrange your artwork inside it. This guide walks through a template record, a real supplier example and a two-sided layout so you can move from an AI concept to a file prepared for that particular mug.
The creative shortcut
- Use the exact supplier, mug and size to choose your canvas.
- Keep a reusable artwork motif separate from each finished wrap file.
- Check both sides and the handle in the provider preview before export.
Start with the exact product and template
Write down the supplier, product name, print partner if applicable, capacity and color before opening an artwork editor. A white ceramic mug, a colored mug and a tapered latte mug can have different printable areas even when their capacities look similar. Treat each as a separate production setup.
Get the template from the same product page or editor you will use to fulfill the order. Keep its units, recommended resolution, accepted file format, orientation and any marked safe area together in a short record. A screenshot of a mug’s outside height is not a substitute for the print template.
Give the template a useful filename, such as supplier-white-ceramic-11oz-template-original. Keep it unchanged. Build your design in a separate working file so you can return to the source instructions when a preview looks wrong.
- Exact product and variant, including the print partner where relevant.
- Template width and height, with inches or millimeters clearly recorded.
- Required export format, resolution and color instructions from that supplier.
- Template revision or download date and a link back to the product.
11 oz and 15 oz examples: the supplier decides the size
Gelato’s published printable-area table lists its White 11 oz Ceramic Mug at 200 × 96 mm and its White 15 oz Ceramic Mug at 213 × 103 mm. Those are examples for those named products, not universal dimensions for every 11 oz or 15 oz mug. Gelato also provides sample templates on its product pages.
Printify directs sellers to the Upload section of the selected product’s Product Creator for its file requirements. Its guidance explains that requirements can differ by product, print area and sometimes size. Printful’s White Glossy Mug page offers separate size options and File guidelines; use the guidelines for the variant you select.
If a chart and your current product template disagree, stop and check the product editor or supplier instructions. Do not average two websites’ numbers or force a file onto the closest-looking canvas. The template connected to your actual order is the useful source.
- Gelato White 11 oz Ceramic Mug: 200 × 96 mm printable area in the current help table.
- Gelato White 15 oz Ceramic Mug: 213 × 103 mm printable area in that table.
- Other mugs and suppliers: obtain the exact product template rather than reusing these examples.
Calculate pixels without changing the artwork’s proportions
When a provider gives a physical print area and a target resolution, pixels equal inches multiplied by pixels per inch. For millimeters, divide by 25.4 first. If a template already provides an exact pixel canvas, use that canvas instead of replacing it with a rounded conversion.
As a calculation example, 200 × 96 mm at 300 PPI is approximately 2,362 × 1,134 pixels. The 213 × 103 mm example is approximately 2,516 × 1,217 pixels. These are rounded calculations from the stated physical areas, not replacement template downloads or a promise that every provider requests 300 PPI.
Keep your motif’s proportions locked when placing it. A circle should stay round. If a new template is taller, reposition the design and adjust the surrounding space; stretching only its height will distort a badge, face or lettering. A larger export does not restore detail that was absent from the source.
Choose a wrap or two separate design panels
A full wrap uses the available printable band as a connected composition. A two-sided design uses separate motifs or text panels within that same band. The production file can still be one wide rectangle even when the visible artwork occupies only two smaller areas.
For a two-sided citrus mug, imagine a branch on one side and a short phrase on the other. Start with the provider’s own center marks and preview controls. Inspect the mug with the handle facing each direction, then rotate the preview to see the surface opposite the handle. The center of the entire flat file is not automatically the center of the view you want a buyer to see.
Keep names, faces and essential lettering away from any nonprintable or uncertain edge areas shown in the template. There is no safe-margin percentage in this guide: handle clearance and printable boundaries belong to the chosen product. A background may have different edge instructions from an important word.
- One-sided motif: verify which view shows the artwork and what the opposite side looks like.
- Two-sided layout: inspect both panels and the spacing between them.
- Continuous wrap: inspect the connection around the mug and the areas beside the handle.
Create the artwork in PODspy before building the wrap
Open PODspy’s creation workspace, open the Create mode menu and choose Generate Image. On November 3 we verified that this opens the editable Describe what you want to create field and the aspect-ratio control. The starting brief below opens that same mode with the exact text ready to edit. Generation waits for your own click.
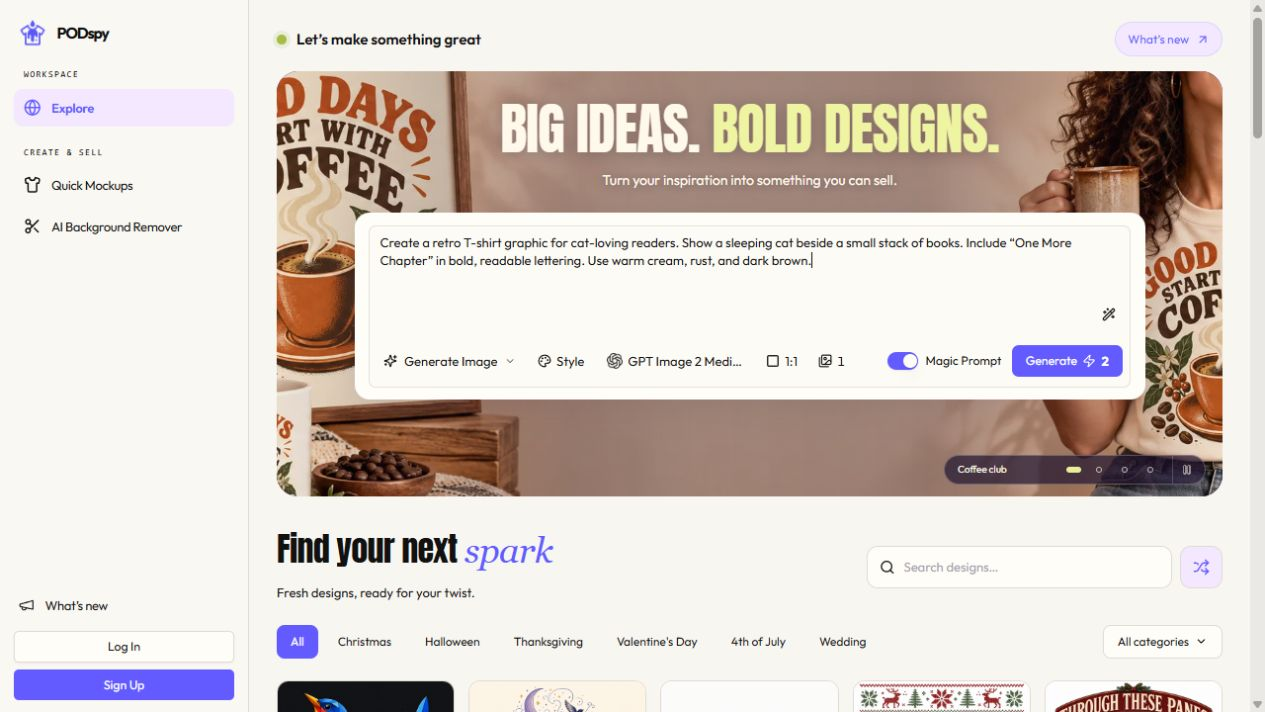
This brief asks for one compact motif, which can be placed into a supplier’s layout later. It does not ask the model to draw a mug, an angled product photo or a ruler. Keeping those objects out of the artwork makes the result easier to inspect as a design element.
Choose the output you want to use, check its actual exported dimensions and prepare its background as your composition requires. A white-looking image is not proof of transparency. Use an editor or a background-removal workflow if you need a clean isolated motif, and inspect the edges afterward.
PODspy is the artwork-creation step here. Set the final wrap size in the provider’s editor or another layout editor using the provider template. Asking an image model for an 11 oz design does not establish the printer’s pixel dimensions, safe areas or handle placement.
Create one original compact citrus-branch illustration for a ceramic mug design. Show a single orange, a small lime and three expressive leaves in a balanced hand-painted gouache style. Use coral orange, deep plum and fresh leafy green. Keep a clean, isolated composition with generous plain white space around the motif. Show flat artwork only. Do not include a mug, handle, product mockup, text, measurements, template guides, logo or watermark.
Place the motif, then make a separate file for each variant
Open the untouched template as a reference and create your working layout at its required size. Add the motif as a separate element. Position it using the template’s guides, then check the provider’s 3D or product preview to confirm which side of the mug it faces.
For a two-sided layout, duplicate the same motif or add a second panel without stretching either. If you add a name or phrase, proofread it at the actual intended viewing size and leave room for the longest personalization you plan to offer. Do not assume that the empty space around an AI image is useful print area.
Create a second working file for the 15 oz variant. Reposition the motif on that template and inspect it again. Preserve the relationship between the artwork and its intended printed size, rather than blindly stretching the finished 11 oz file to fill a different rectangle.
Keep a simple record of which export belongs to which variant. A filename such as citrus-white-11oz-provider-v1.png is easier to audit than final-final-new.png. Use the filename extension and color settings the provider actually accepts.
Check the product preview and the exported file separately
The product preview answers placement questions: which side faces forward, how close the artwork sits to the handle and whether part of a phrase wraps out of view. The exported file answers different questions: pixel dimensions, clean edges, unwanted guides and the correct background. Review both.
Remove the template’s instruction and guide layers before making the production export. Reopen the saved file and check its dimensions, spelling and edges. Then confirm that the correct file is assigned to the correct product variant in the provider’s editor.
A digital preview cannot establish the actual printed color or finished quality. Review a physical sample before making claims about those results. If you switch supplier, print partner or mug shape, repeat the template and placement checks instead of carrying over the previous approval.
- Handle left and handle right: the intended artwork is visible in each relevant view.
- No cut-off name, stretched motif or accidental instruction layer.
- Export dimensions match the selected template; artwork detail is adequate at placement size.
- Product color, layout and file assignment agree across the variants being sold.
Show the layout clearly in the listing
Once the production layout is settled, prepare listing views that make the design understandable. For a two-sided mug, show both sides and the handle so the buyer can see where the panels sit. Keep the scale and position consistent with the product you intend to deliver.
Treat a product mockup as a presentation of the design, not as a replacement for the production file. Keep the wide wrap artwork separate from the images you upload to the listing. If a listing crop hides the design, reframe that image; changing the listing photo should not silently change the print placement.
Common mug design size questions
Can I use a square AI image on a mug? Yes, as a design element placed within the correct template. A square image does not have to become a full wrap. Check how large that element can print with adequate detail, then position it for the intended side.
Is a 15 oz template just a larger 11 oz template? Do not assume so. Use the actual width and height of each product’s printable area, and rearrange the layout when their proportions differ.
Do I need one file for every supplier? Keep a separate checked export for each product template or variant that requires a different canvas or layout. Reusing the underlying motif is different from assuming one finished wrap will fit every product.
What if the image looks correct but the upload preview does not? Check the selected product, variant, units, template version and automatic fit or fill behavior. Return to the exact supplier instructions before changing the artwork itself.


