 PODspy

A die cut sticker is cut through both the sticker material and its backing, so the whole piece follows the outer contour. A kiss cut goes through the sticker layer and adhesive but stops at the liner, leaving backing around the peelable shape. For a print-on-demand seller, that choice changes what arrives in the package, what you photograph, and which dimensions you need to check. Here’s how to choose and prepare one design for either format.
The creative shortcut
- Choose the format by how the sticker should look before peeling.
- Check the artwork, cut contour, and backing as three separate boundaries.
- Show the actual backing, size, and quantity buyers will receive.
Compare what buyers receive before peeling
Pick die cut when the outline should define the individual piece as shipped. A small arch with a kettle inside looks like an arch even while it’s on its liner. Pick kiss cut when you want a larger area around the peelable shape, whether that’s a small backer for easier handling or a sheet carrying several peelable designs.
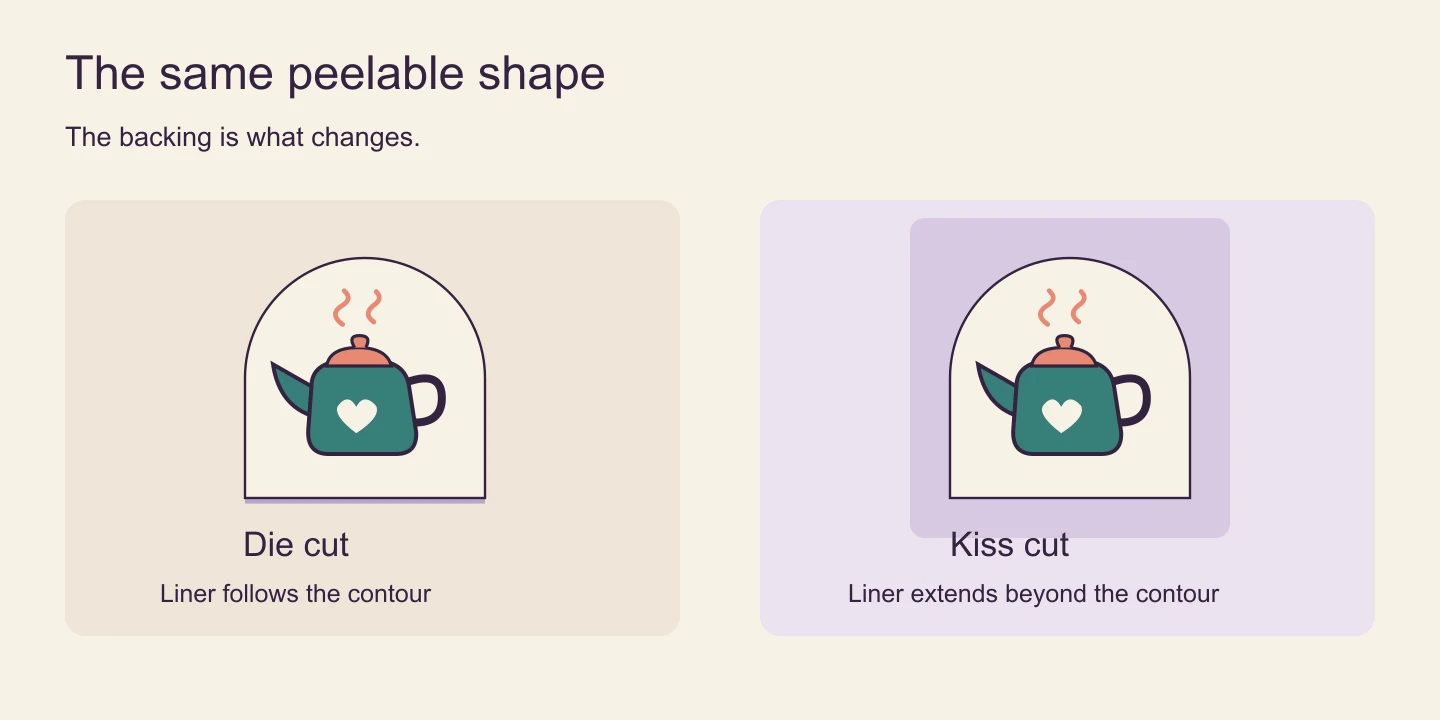
A kiss cut can still be a single sticker. A sticker sheet can have several inner kiss cuts and an outer cut around the sheet itself. Read the specific product description to see whether you’re getting a single, sheet, or roll. Some suppliers offer printable space around the peelable shape, but that option depends on the product.
If the material, finish, adhesive, and peeled contour match, the peeled stickers can look the same. The name of the cut alone does not tell you whether a sticker is waterproof, removable, or suitable for outdoor use. Verify those properties on the chosen product before describing them to buyers.
Choose the listing format before drawing the contour
Imagine two listings for one kettle illustration. The first sells one shaped decal for a notebook. A die cut single keeps the outline visible when the buyer opens the package. The second uses the kettle as a pack-in and needs room for a small care note. A kiss cut product with a printable surround could work if that exact supplier offers it. If it doesn’t, keep the note on a separate card.
For a multi-design sheet, plan how many pieces should peel individually. Keep enough space between the designs for the supplier’s rules and proof. A connected shape might peel as one sticker, while a design with separate islands might become multiple pieces. Decide whether you want a single piece before placing stars, dots, or lettering outside the main shape.
Check size options, material, finish, unit count, and delivery format on the exact product page. Compare quotes only after those choices match. For instance, a product sold as a roll of labels answers a different need from a stack of individually backed stickers.
Create one illustration with a clear outer shape
Start with the same artwork for both options so you can judge the backing choice independently of color or design. This guide uses a kettle, a broad arch silhouette, and a few interior marks. Keep the steam and tiny accents within the badge so they don’t become separate shapes in an automatic cut preview.
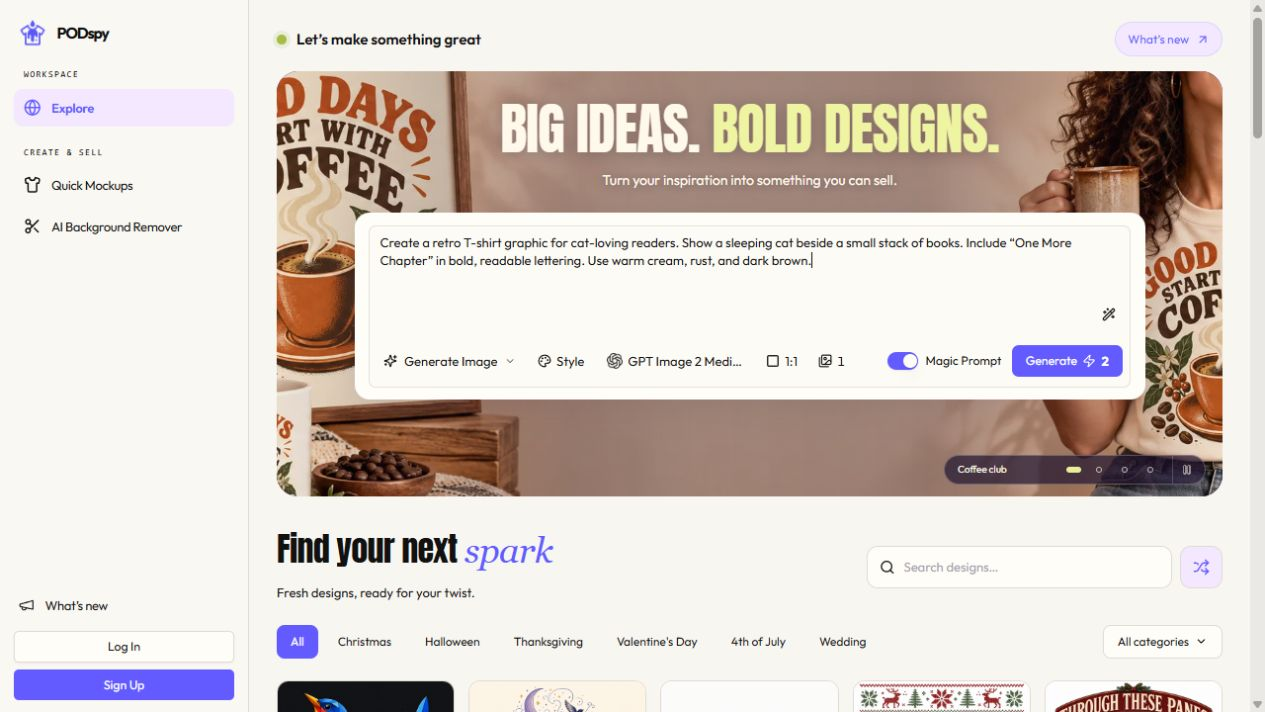
Open the brief below in PODspy’s Generate Image workspace. You can edit it before choosing to generate. Then inspect the result you choose and prepare the file the supplier asks for. If the upload requires transparency, check the exported file against a contrasting layer so you can see any unwanted background or stray marks.
Keep a clean artwork master and make a copy for the selected product. In a workflow that derives the contour from a transparent PNG, follow its upload rules and inspect its proposed cut. If your printer requests a vector contour or a template with a separate layer, follow that specification instead. A rendered preview or decorative outline is not a production cut path.
Design one original flat illustration for a small vinyl sticker: a rounded teal kettle with a chunky handle and a coral lid, inside a simple ivory arch badge. Keep the kettle, two broad steam curls, and all accents inside the arch. Use a dark plum outline and three solid colors with strong contrast. Make the outside silhouette one continuous shape with no narrow spikes, tiny holes, or floating decorations. Center the artwork on a plain white background. Show the artwork only, with no text, brand marks, mockup, paper backing, shadows, dimension arrows, or cut guides.
Measure the art, cut contour, and backing separately
Suppose your proof has a 2.5-inch-wide artwork area, a 3-inch-wide peelable arch, and, on the kiss cut option, a 4-inch square backing. The shape the buyer applies is 3 inches wide. The unpeeled item they receive takes up 4 inches of width. A die cut version with the same contour would have a shaped backing that follows the 3-inch outline.
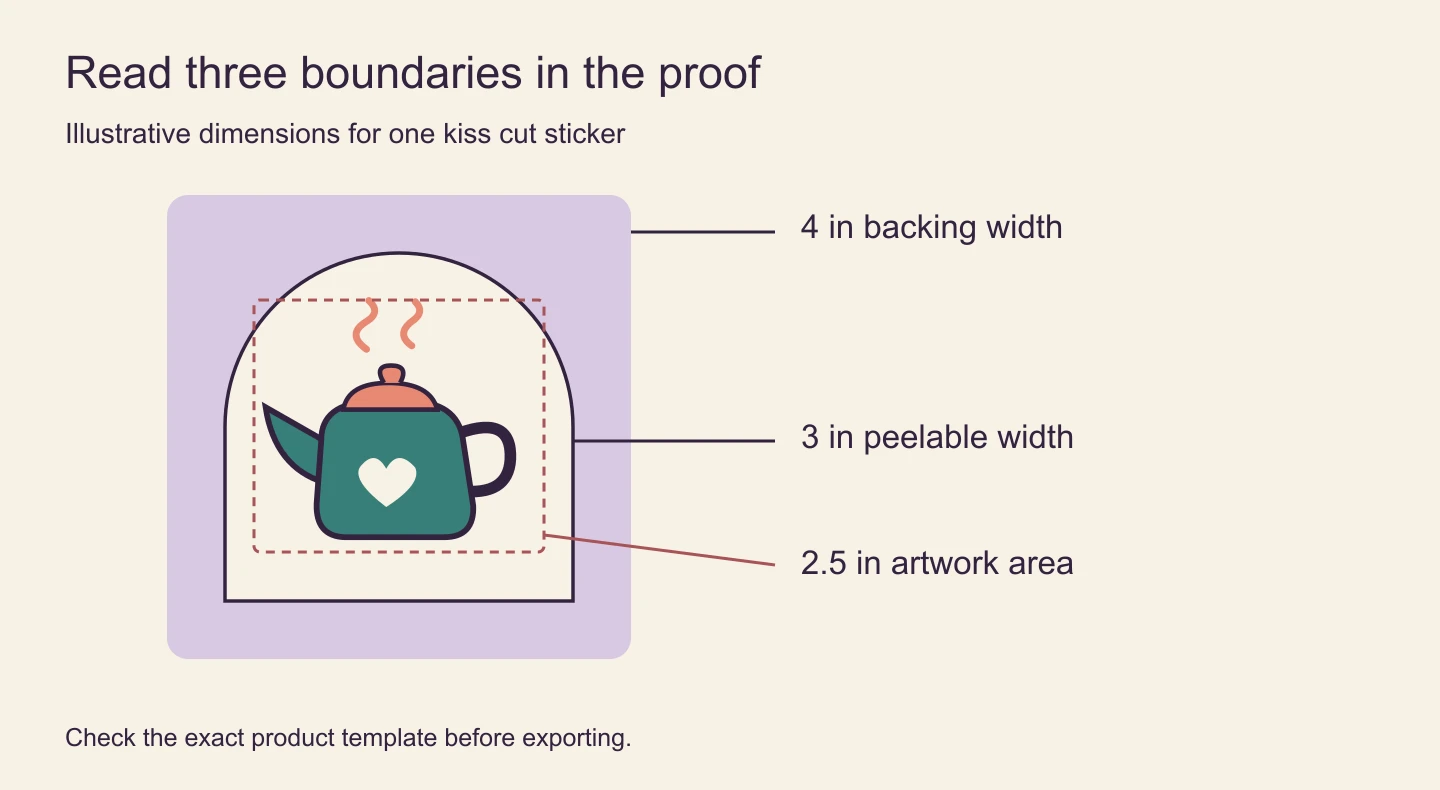
The illustration is a planning example. Some suppliers label the product by the backing size, while others may describe the size of the cut piece. Confirm which dimension a selector refers to. For example, Printify lists one kiss cut sticker sheet by its 5.83 × 8.27-inch sheet size. Those dimensions describe the sheet, not any one peelable design on it.
If the printer requests 300 pixels per inch over a 3-inch artwork canvas, that canvas is 900 pixels wide. If its template specifies a larger file for bleed or a different printable area, use the template. Don’t enlarge the file to the backing size just because that is the size named in the listing selector.
Check the proof, then show the as-shipped sticker
Follow the cut line all the way around the preview. Confirm that the contour includes the intended pieces and leaves space around important detail. If it picks up a stray speck or merges two intended stickers, adjust the source or spacing according to the product’s guidance and preview it again. Check the intended border or bleed against the template. A white rim that peels off with the sticker is different from liner that stays behind.
For artwork with a hollow handle or another interior gap, check whether the printer supports a hole for that product. Transparent pixels inside the art do not necessarily mean a physical hole. Ask for a proof that makes the inner and outer cuts clear if the hole matters to the design.
Use the approved proof or actual sample to check the as-shipped dimensions before publishing. Show the whole backing and how many pieces the buyer gets in at least one listing image. Add a separate view of the peeled artwork if it helps explain the shape. Say which measurements refer to the peelable piece and which refer to the liner.
Common sticker format questions
Does die cut mean no white border? No. The cut follows a contour through the backing. A white printed or unprinted rim can still sit inside that contour if the artwork and product call for it.
Does kiss cut mean a full sheet? No. The term describes the cut through the sticker layer while leaving liner below. A supplier may offer singles, sheets, or rolls.
Can I use the same artwork for both? Start with the same illustration, then create the file each product needs. Check both previews for the intended border, finished dimensions, and number of peelable pieces.


