 PODspy

A useful mouse pad design has to work twice: as an uncovered product image and as a surface with a moving mouse on it. Start with the chosen pad’s template, build a composition that tolerates partial coverage, and check the artwork at the finished size. This walkthrough uses a pine-and-mountain landscape for a compact rectangular pad, with a quieter area where the mouse can sit.
The creative shortcut
- Choose the exact product before setting the file size. Finished dimensions and upload dimensions can differ.
- Keep essential details clear of rounded corners, then test the composition with a mouse covering and moving across it.
- Fit the artwork without stretching, inspect the exported file and use the supplier’s template for bleed, safety and edge treatment.
Choose one pad before designing the artwork
A compact mouse pad, a round pad and a wide desk mat need different compositions. A desk mat may have a keyboard over much of its left side; a compact pad may spend most of its life under the user’s hand. Pick the product and intended desk setup before deciding where the main subject belongs.
Record the supplier, exact product, finished dimensions, upload dimensions, corner shape and edge treatment. Download the current template for that product. A stitched edge or a different shape can change where important details should sit. The safe boundary in that template takes priority over a generic margin.
For a concrete size comparison, Printful lists a standard 8.7 × 7.1-inch mouse pad, an 8-inch round pad and gaming pads in 18 × 16 and 36 × 18 inches. Teelaunch lists a 9.25 × 7.75-inch rounded rectangle. Those are product dimensions, not a single interchangeable artwork size.
Use the upload dimensions, not just the finished size
Teelaunch’s 9.25 × 7.75-inch product page specifies a 2925 × 2502-pixel art file. Multiplying the finished dimensions by 300 instead gives 2775 × 2325 pixels. The two sets of numbers describe different things. Use the stated upload size and its template rather than replacing it with a calculation from the finished product.
That mismatch is also a reason to keep the template intact while composing. Do not divide the extra pixels evenly and assume you have discovered the bleed or corner clearance. Locate the actual cut, safe and outer artwork boundaries in the downloaded file. Ask the supplier if those boundaries are unclear.
In your layout editor, place the supplier guide on a separate layer and lock it. Extend the background through the required outer artwork area. Keep the sun, tree tops, any logo and all lettering inside the marked safe boundary. Leave additional breathing room where a corner rounds inward.
Printify likewise directs sellers to the specific product’s file requirements in the Product Creator’s Upload section. Save a separate production layout when changing supplier or product size; keep your original illustration as an editable master.
Place the focal point where the design can breathe
For the landscape example, group the tallest pines in the left third and place a small sun above them, comfortably inside the upper-left safe area. Run low mountain shapes across the lower part. Leave the center and right quieter. This gives the artwork a recognizable silhouette even when a mouse covers some of the open space.
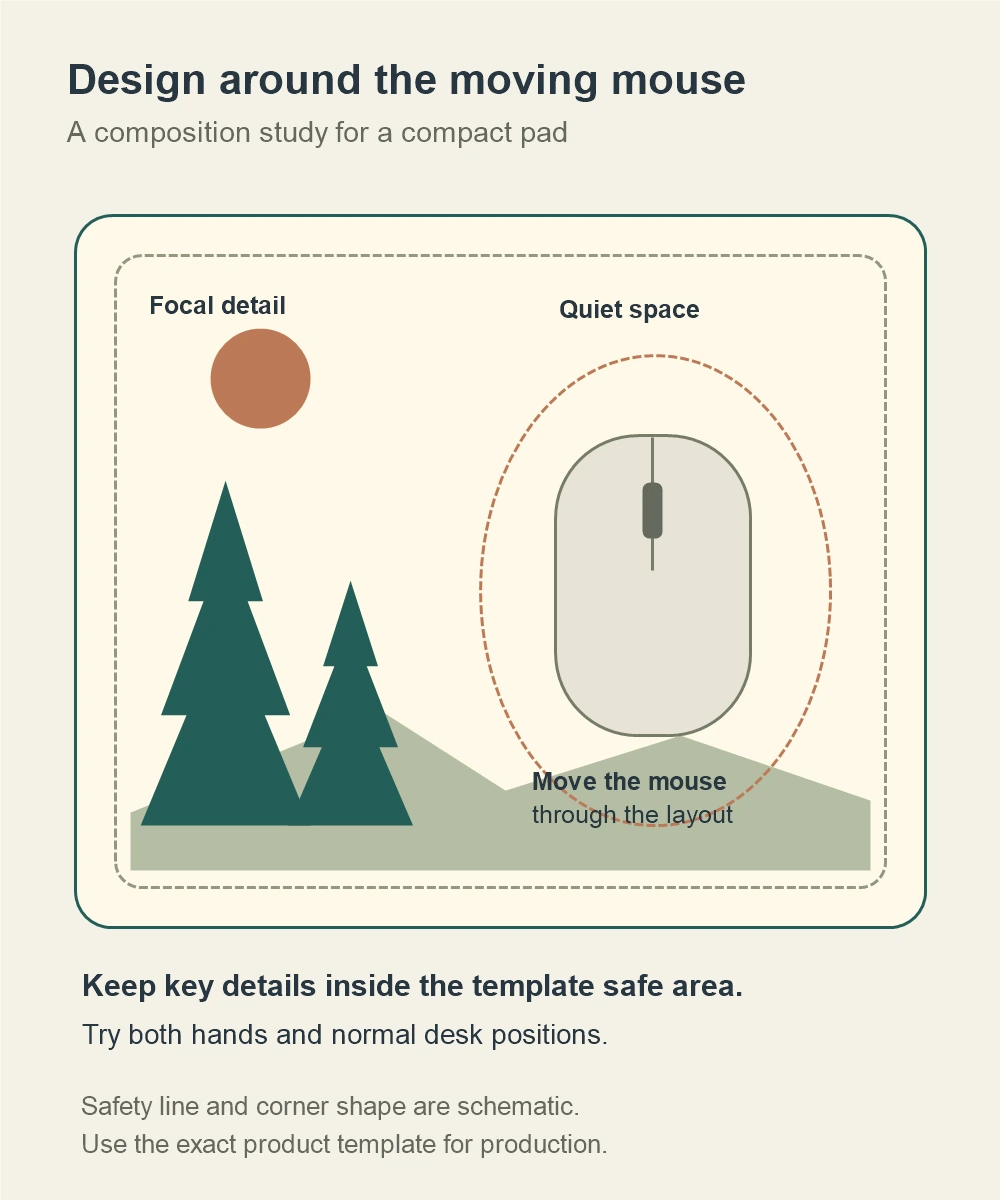
Treat that placement as a design choice to test. It is not a universal right-handed or left-handed print zone. A buyer’s grip, pad position and mouse movement can hide different parts of the illustration. Try both hands if you want the product to suit both.
If you personalize the pad, put the name on an editable text layer and test your longest offered name. Try an upper band or another clear part of the composition, then check it during the paper exercise below. A name centered under the mouse may disappear when the pad is being used.
A thin border close to the perimeter can draw attention to small cutting or stitching shifts. An edge-to-edge background with less critical detail near the corners is more forgiving. Cloudprinter’s mousepad instructions also warn against placing important artwork in the rounded corners.
Start the landscape in PODspy
Open this brief in Generate Image and change the landscape or palette to suit your collection. Choose a landscape aspect ratio before generating; the handoff fills the prompt and leaves the size control available to you. The text remains editable, and generation starts when you choose Generate. Review the artwork for clear tree shapes, unwanted marks and enough quiet space before taking it into the product layout.
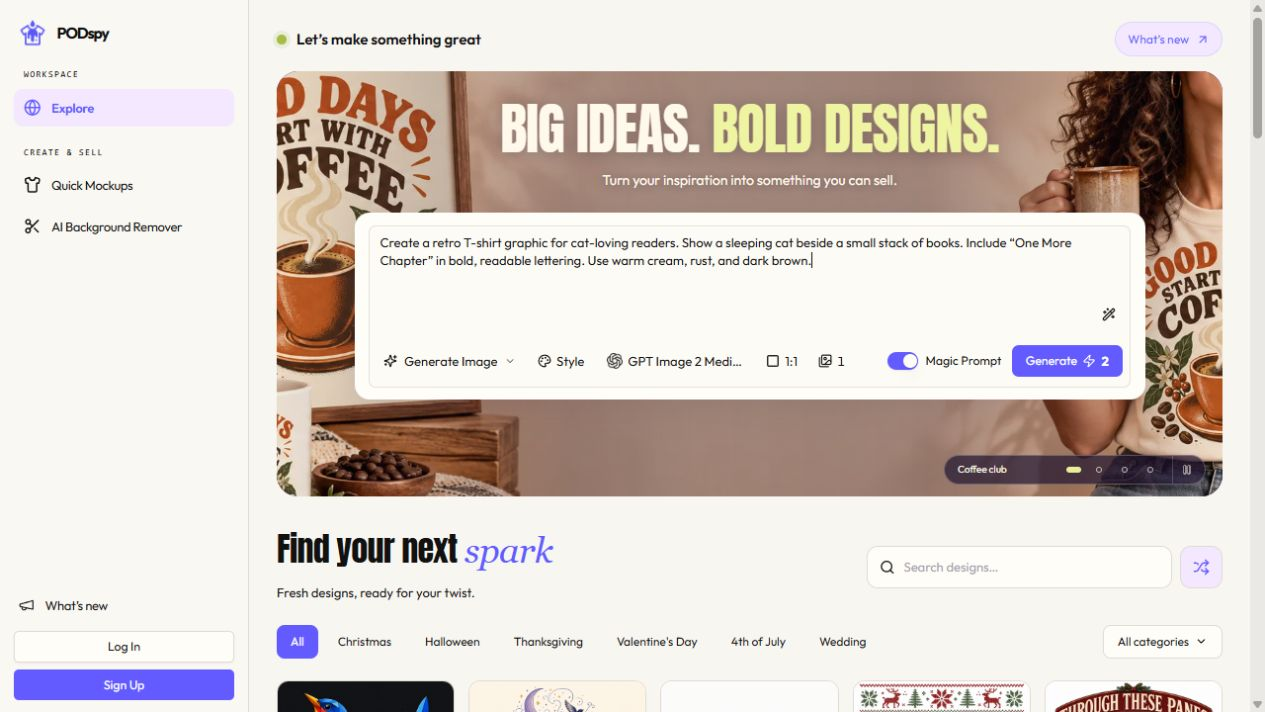
Ask for flat artwork so you have an illustration to work with. A picture of a finished pad includes perspective, shadows and possibly a mouse; those objects do not belong in the artwork you send to the printer. Keep the editorial cover of this guide separate from your production design.
Create flat landscape artwork for a compact rectangular mouse pad. Use a restrained gouache and printmaking style in warm ivory, dark teal, pale sage and muted terracotta. Group a few simple pine silhouettes within the left third, keeping the tree tops comfortably away from the upper and left edges. Put one small terracotta sun above the pines, also well inside the composition. Let low layered sage mountains cross the lower part. Keep the center and right mostly quiet warm ivory, with an uninterrupted background reaching every image edge. Use clean recognizable shapes and restrained texture. Artwork only. No lettering, name, logo, border, computer mouse, keyboard, desk, product mockup, perspective, cast shadows, template guides or crop marks.
Fit the illustration without stretching it
Scale proportionally in your layout editor and inspect what falls outside the upload canvas. The Teelaunch example is about 1.17 times as wide as it is tall. A 3:2 landscape is wider in proportion, so filling that canvas crops the sides.
For example, a 1536 × 1024-pixel illustration scaled to 2502 pixels tall becomes 3753 pixels wide. Filling a 2925 × 2502-pixel canvas then removes 828 pixels of that scaled width, about 22%. A centered crop removes 414 scaled pixels at each side. Check the pines and sun before accepting that crop.
You can move the illustration within the frame, reduce and recompose the foreground, or extend a simple background in your editor. Do not squeeze the width to fit: the sun becomes an oval and the trees change shape. Upscaling also does not establish that small details will print sharply; inspect the final export at its intended size.
For a wide desk mat, rebuild the composition around the keyboard footprint and the uncovered edges. Stretching this compact-pad layout into a 2:1 format changes the artwork. A separate layout lets you keep the subject’s proportions and choose where it will remain visible.
Check the layout with a mouse before listing it
Print a plain-paper layout at the finished pad size. Select actual size or 100%, measure the outline with a ruler, and trim the paper to that outline, including the rounded corners. This checks size and placement; it does not simulate the material, surface feel or printed color.
Put the paper where the pad will sit. Rest a real mouse on it, move through the area you normally use and check which details disappear. Try the other hand or a different desk position. If the sun or personalized name repeatedly vanishes, move it within the safe boundary or decide that it does not need to remain visible during use.
Use a second paper rectangle for the keyboard when testing a desk mat. Place the keyboard where it would actually sit instead of assuming the whole mat will be on show. Make sure the remaining visible artwork still feels deliberate.
Finally, remove the guide layer from the delivery artwork as instructed by the supplier. Export the required format, color settings and pixel dimensions, then reopen that exact file. Check corners, spelling, background coverage and placement in the supplier preview. Approve a physical sample before making claims about color, stitching or surface quality.


