 PODspy

A common bookmark size is 2 × 6 inches, which is 600 × 1800 pixels at 300 pixels per inch. That describes the finished piece. A file with bleed needs extra artwork beyond those edges. For a seller building a small stationery collection, the useful next step is choosing one finished size and carrying it through the artwork, safe area and two-sided proof. Here is a complete setup for a narrow botanical bookmark.
The creative shortcut
- A 2 × 6-inch bookmark is a common starting size. Use your printer’s exact product template for production.
- With ⅛-inch bleed on every edge, the example upload canvas becomes 2¼ × 6¼ inches, or 675 × 1875 pixels at 300 pixels per inch.
- Keep the front and back upright, proof their orientation together, and check the final exports at actual size.
Choose the finished bookmark size first
Start with a book your customer is likely to use and a rough paper rectangle. Check how the width feels between the pages and how much of the design you want visible when the book is closed. Compare that rectangle with the printer’s available sizes before drawing the final layout.
Overnight Prints lists a finished 2 × 6-inch bookmark. Other printers offer taller and wider formats. The extra space changes the composition, so choose the size for the actual illustration and amount of text. These are useful starting dimensions.
- 2 × 6 inches, or 50.8 × 152.4 mm, gives a compact 1:3 portrait shape.
- 2 × 7 inches, or 50.8 × 177.8 mm, adds one inch of height for a longer stem or a short message.
- 2½ × 8½ inches, or 63.5 × 215.9 mm, gives an illustration more width as well as height.
Separate the canvas, trim and safe area
Use the 2 × 6-inch format for this exercise. Assume ⅛ inch of bleed outside each edge and a ⅛-inch safety inset inside the trim. PrintMagic specifies those margins for its bookmarks. Your supplier’s template determines the margins for the product you order.
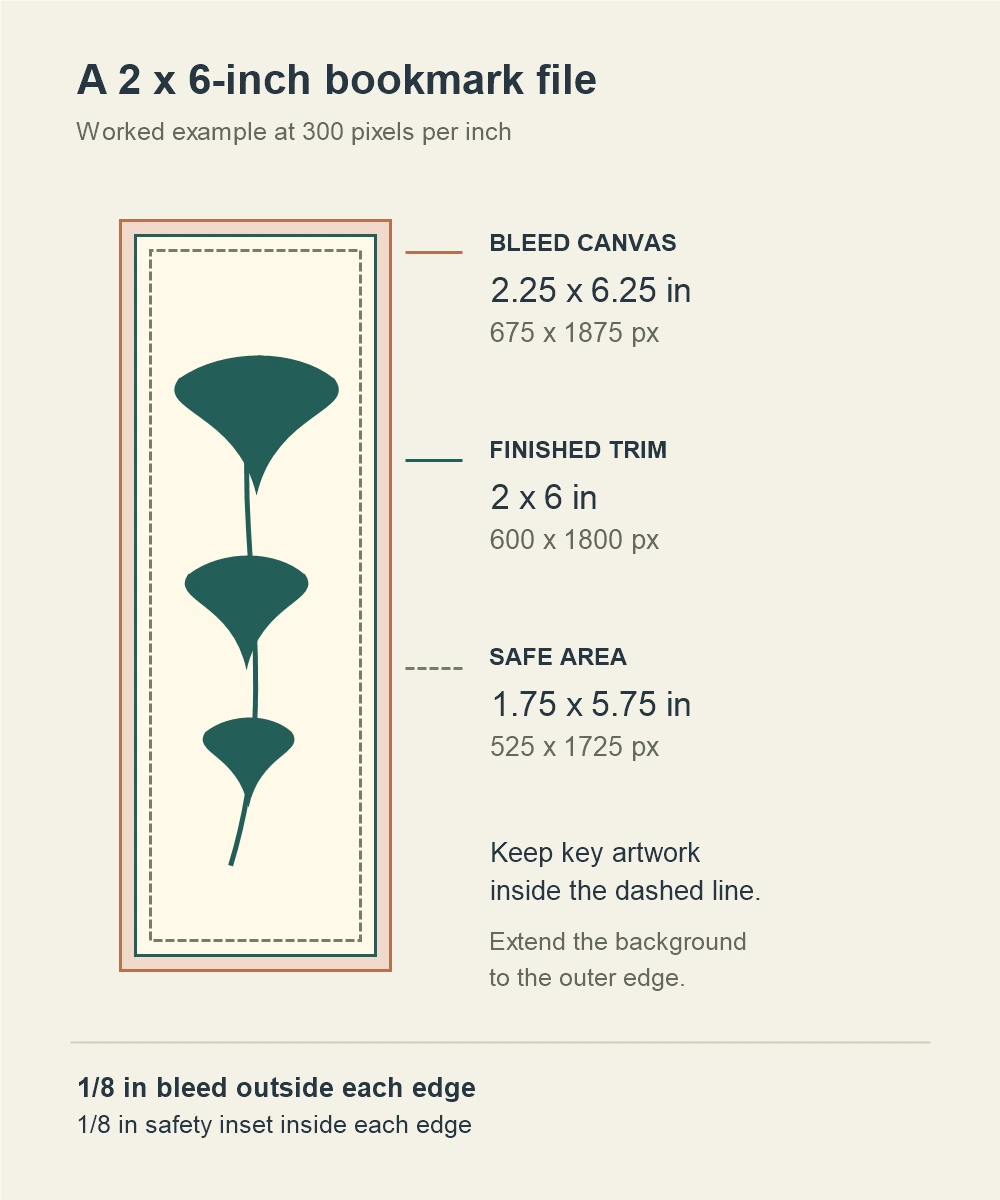
Adding the bleed on both sides gives a 2¼ × 6¼-inch canvas. At 300 pixels per inch, that is 675 × 1875 pixels. The finished 2 × 6-inch area remains 600 × 1800 pixels. Insetting that finished area by ⅛ inch on each edge leaves a 1¾ × 5¾-inch safe rectangle, equivalent to 525 × 1725 pixels.
Set the guides in inches or millimeters in your layout editor. One eighth of an inch equals 37.5 pixels at 300 pixels per inch, so a physical-unit template avoids guessing which way to round individual guides. The total canvas dimensions are still whole pixels.
Extend the ivory background all the way to the outer canvas edge. Keep every essential leaf tip, name and line of text inside the safe rectangle. A thin border near the cut edge makes small trim shifts more noticeable. Save the editable layout with its guides on a separate layer.
Build the illustration around a narrow column
A wide illustration can lose its subject when it fills a bookmark. For example, an image measuring 1200 × 1800 pixels already has the right height for the 600 × 1800-pixel trim area. Filling that trim area without stretching keeps only half its width. A centered crop removes 300 pixels from each side.
For this botanical design, use one upright ginkgo stem with three fan-shaped leaves that alternate along its height. Keep the largest leaf near the upper third, a smaller leaf at the middle and a small accent lower down. Move the leaves toward the stem when their tips approach the safe boundary.
Place any personalized name on its own text layer. Check the longest name you plan to accept, then set a consistent size and line break that fits. If you offer several bookmark lengths, make a separate layout for each. Give the stem more space on a taller format and check the leaf spacing again.
Reserve the upper part of the design if the chosen product has a tassel hole. Get the hole position and required clearance from that product’s template before placing a name or important detail there.
Start with an editable botanical artwork brief
Open this brief in PODspy’s Generate Image workspace and adjust the palette or plant for your collection. Generation starts when you choose Generate. Review the selected result for clean leaf shapes, stray marks and enough plain space at both sides before placing it in your bookmark layout.
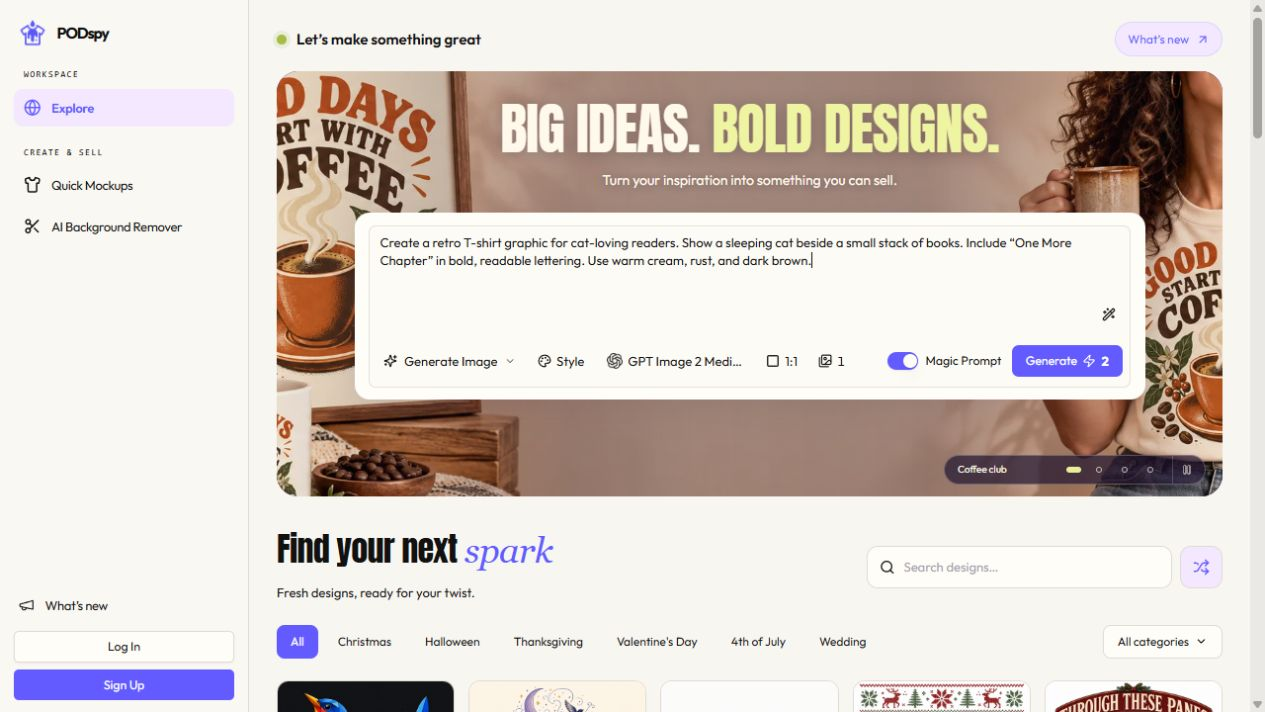
The generated artwork is the starting material for the illustration. Set the exact dimensions, type and production guides in your layout editor. Keep the printed name editable so each customer’s version uses the same type treatment.
Create flat portrait artwork for a narrow botanical bookmark. Draw one gently curving upright ginkgo stem with three simple dark teal fan-shaped leaves arranged alternately from top to bottom, plus a few small terracotta seed accents. Use a restrained gouache and printmaking style with crisp silhouettes. Keep the whole plant within a slim central column, surrounded by generous plain warm ivory space on both sides and above the top leaf. Let the ivory background reach every image edge. Artwork only. No lettering, names, border, tassel, book, bookmark mockup, shadows, crop marks or template lines.
Check both sides before exporting
Give the reverse a clear purpose. You could repeat a small leaf and add your shop name, or create space for a book title and a handwritten note. If the reverse is meant for writing, confirm that the stock and finish accept the pen or pencil you expect customers to use.
Duplicate the same canvas for the back so its trim and safe guides match the front. Keep the art and text upright in the working files. Follow the printer’s instructions for page order and orientation. For a paper orientation check, make two temporary copies labelled FRONT and BACK with an arrow at the top. Print each at actual size, measure the 2 × 6-inch trim, then place the sheets back to back with the top arrows aligned.
Hold the paper proof as a reader would. Turn it over and check that the reverse reads the way you intend. If you are preparing a home-printable sheet, test the selected duplex flip setting on one sheet before arranging a full set. A printer’s imposed sheet can require a different layout from two individual product files.
Remove the temporary labels and production guides from the delivery artwork. Export the format and color settings your printer requests, with the required bleed and crop marks. Reopen the actual exported front and back, check their dimensions, and inspect the provider’s proof for cut edges, orientation and spelling.


