 PODspy

A wall calendar design has two jobs: give someone a new image to enjoy each month and make the dates easy to use. The art, grid and binding have to work together. This guide develops a river-through-the-seasons collection, shows where supplier formats change the layout, and gives you a practical way to catch mismatched images, wrong dates and shuffled pages before listing your calendar.
The creative shortcut
- Choose the calendar product first: uploaded art may sit beneath an automatic date grid, or you may need to supply the whole page.
- Plan all twelve images as one collection, then proof a difficult month before building the rest.
- Check the exact PDF sequence and the calendar as it hangs open; twelve monthly images do not always mean a twelve-page upload.
Decide who supplies the calendar grid
Choose the supplier, exact product, destination market, calendar year and starting month before creating the artwork. Record the week start, hanging orientation, image area, required files and current template version. A product called a wall calendar can be a single sheet per month or an open pair of pages with art above the dates.
Fourthwall makes the distinction explicit: its Wall Calendar 2027 adds the dates to uploaded art, while its Wall Calendar Blank leaves you responsible for the full layout. The dated product overlays a grid with a low-opacity background. Download the matching template and plan quiet artwork beneath that area; adding your own dates would duplicate the grid.
Lulu offers a themed Calendar Creator as well as a custom-PDF route. Its standard format hangs an image and a month on separate pages divided by the coil. Check how your chosen product actually opens before deciding where the horizon, title or main subject belongs.
If you only need to create artwork, a supplier-managed grid can reduce the date-layout work. Choose a blank or full-PDF route when you need control over the grid and are prepared to validate every date. Keep those responsibilities clear in your project notes.
Write a twelve-month art plan before generating
For this example, the collection follows a small river through changing seasons. Keep the same gouache texture, rounded hills and navy, sage, cream and copper palette. Change the focal detail, light and amount of foliage so the pages feel related without looking duplicated.
Use the following as an art manifest. Beside each entry in your own document, record its final image filename, crop, layout page and approval status. These seasonal cues suit a temperate Northern Hemisphere collection; adapt them to the place and buyer you are designing for.
- January — bare branches, snow banks and a narrow blue river.
- February — a closer river bend with pale reeds and slate hills.
- March — new grasses, open sky and a quieter foreground.
- April — cream blossoms framing the river from one side.
- May — a broad green valley with a small copper sun.
- June — leafy trees and a long sweep of water.
- July — dense sage foliage balanced by a large light sky.
- August — copper seed heads with the river further in the distance.
- September — the first warm leaves and a lower viewpoint.
- October — a copper canopy above the familiar bend.
- November — spare branches and muted grasses with more open space.
- December — snow returns, with a different crop from January.
Keep illustration and date information separate
Build one layout with distinct layers for artwork, month heading, dates and working guides. If the supplier adds the dates, use its guide to judge collisions and deliver only the artwork it requests. If you supply the entire page, keep the grid as editable text and shapes in your layout editor.
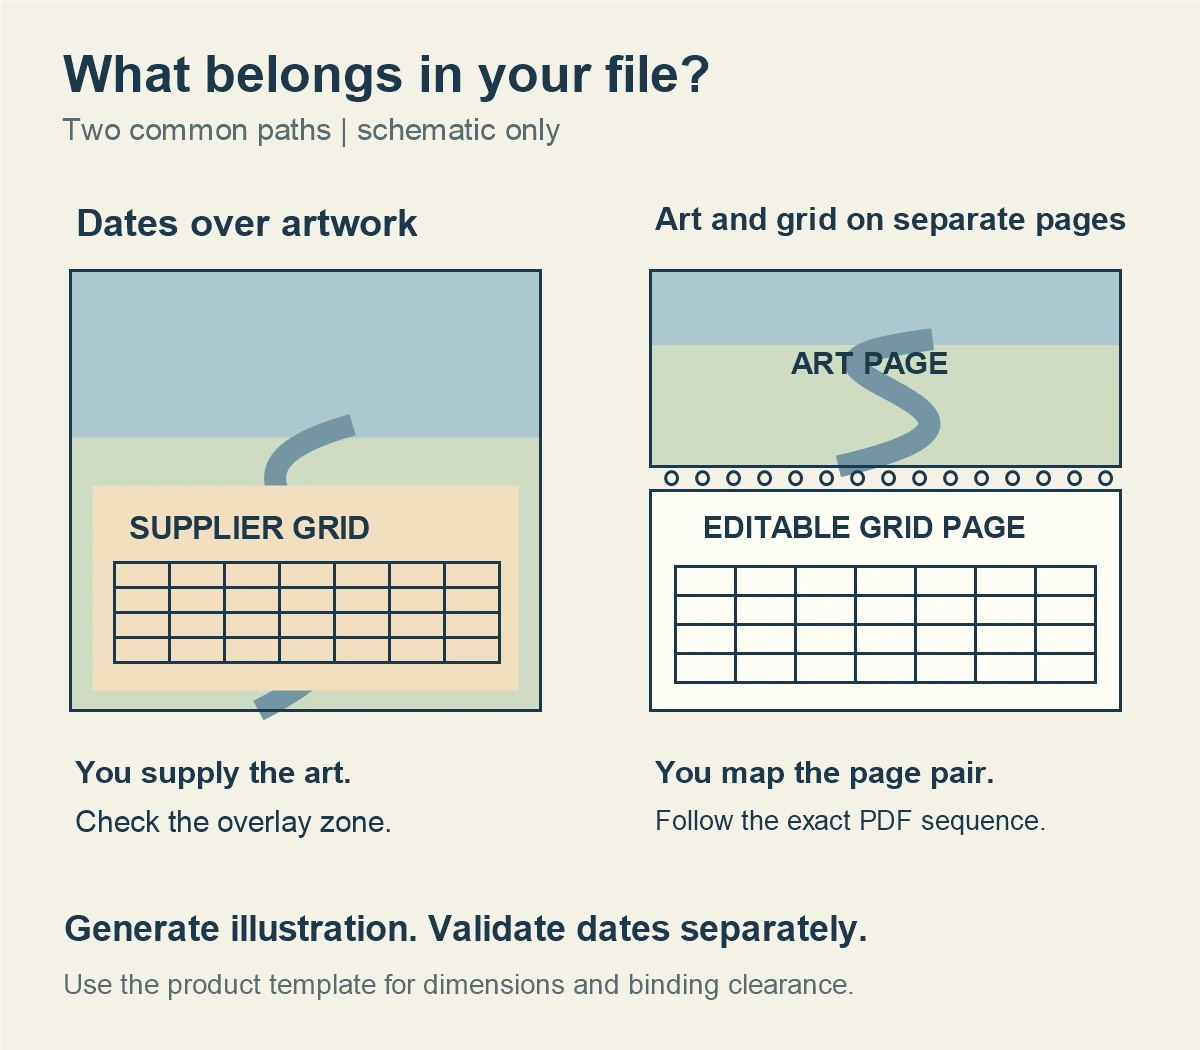
Do not ask an image generator to draw the finished calendar. A convincing image can still contain a missing date, a repeated weekday or unreadable small numbers. Generate the illustration, then place validated dates using your calendar tool or layout software.
In the river example, keep a broad calm area wherever the template places the grid. Move high-contrast branches, bright suns and strong river edges away from that zone. A translucent grid panel can soften an image, but it does not guarantee readable numbers over busy art.
Use the schematic to identify your file’s job. It shows two common arrangements, not every supplier’s construction. The actual template determines the sizes, grid position and binding clearance.
Start one landscape illustration in PODspy
Open this brief in Generate Image and choose a landscape aspect ratio appropriate to your image area. The link fills the brief, leaves it editable and waits for your Generate click. Review one image before developing the other months.
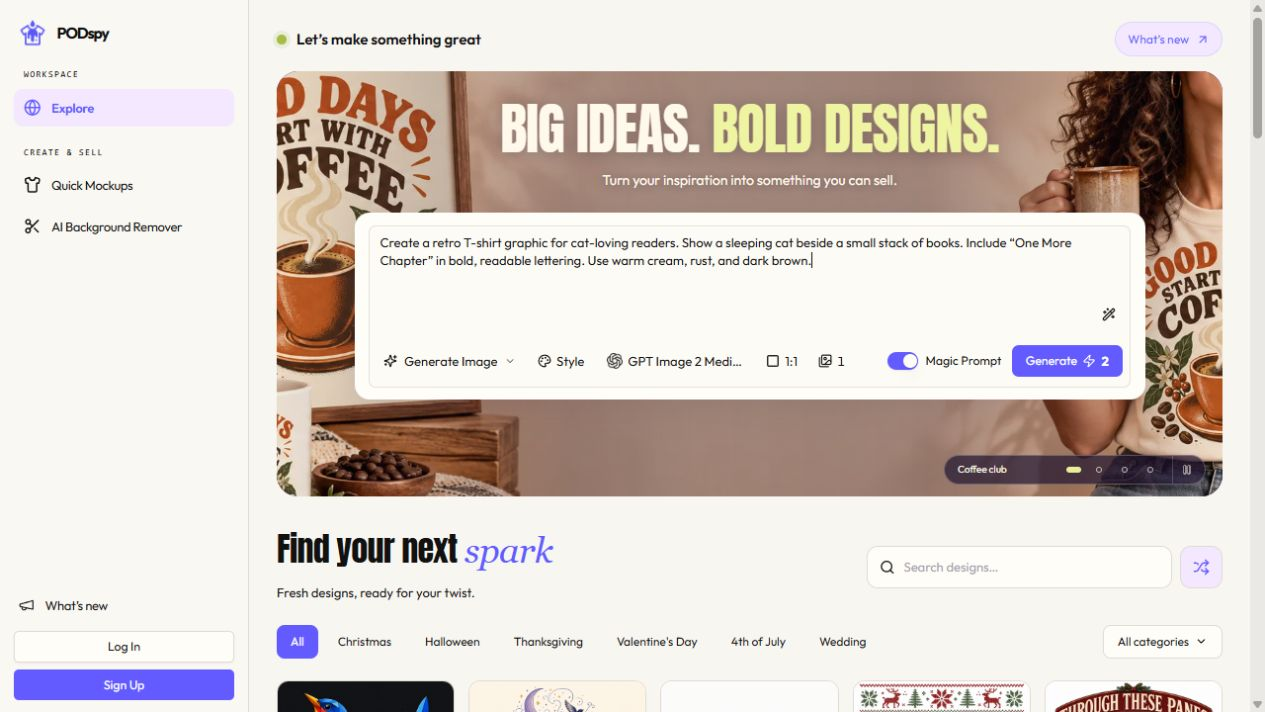
Check the river’s continuity, branch shapes, stray marks and the quiet lower area. Save a version worth keeping. When making a companion image, carry forward the palette, medium and viewpoint, then change the specific seasonal elements in your manifest.
The four studies at the top are an editorial illustration of the idea. They do not demonstrate a finished twelve-image set or an approved print result. Generated artwork still needs inspection, cropping and file preparation for the chosen calendar.
Create flat landscape artwork for a seasonal wall-calendar illustration: a small winding river passing through rounded distant hills in early spring. Use a restrained gouache and cut-paper printmaking style with subtle paper grain. Limit the palette to ink navy, sage green, warm cream and small burnt-copper accents. Place a few cream blossoms along an upper-side branch, with simple recognizable shapes and a calm horizon. Keep the lower third visually quiet with broad low-contrast color shapes so a calendar layout can be added separately. Let the landscape reach every image edge. Artwork only. No calendar, dates, numbers, words, lettering, logos, border, binding, hanging hole, product mockup, perspective, drop shadows, template guides or crop marks.
Proof a difficult month before copying the layout
Build the most demanding month first. For a 2027 calendar, May begins on Saturday and ends on Monday. It needs six week rows with either a Sunday-first or Monday-first grid. A five-row master can lose the final dates or force a last-minute redesign.
February 2027 begins on Monday and has 28 days. In a Monday-first layout it fits exactly four week rows. If you use a consistent six-row master throughout the year, decide how the unused rows should look rather than stretching February’s date boxes to fill the page.
Check the week-start label against the actual date placement. January 1, 2027 is Friday and January 31 is Sunday. Those two checkpoints can expose a shifted grid, but they do not replace checking all twelve months against an independent calendar.
Keep the month heading, weekday labels, date size and writing space consistent. Print the master at actual size and try writing a short appointment in a date box. Reopen the exported page and check it again: font substitution or a clipped final row may appear only in the output.
If you include holidays or custom events, verify their dates and intended market separately. Do not carry an old calendar’s events into a new year by changing only the year label.
Map the PDF sequence to the hanging calendar
Do not infer the upload count from your twelve illustrations. Gelato’s guide specifies 14 PDF pages for its standard wall calendar: a cover, twelve inner pages and a blank. Its listed horizontal Wire-O formats use 26: a cover, twenty-four inner pages and a blank.
For that horizontal arrangement, Gelato identifies PDF page 2 as the image above the first month’s grid on page 3. That is why a folder named January through December is not enough to establish page order. Use the current template for the exact format and market.
Make a page map with four columns: PDF page number, role, image filename and visible month when open. Add the cover and any required blank pages. Check the map against the exported PDF thumbnails, then against the supplier preview.
Use a temporary paper dummy if the sequence is unclear. Number the working sheets, assemble them in the stated order and turn them as the calendar will hang. Confirm that each image pairs with the intended month and stays upright. Remove all working numbers and template marks from the final files.
Review the collection before preparing the listing
Arrange all twelve final images in a contact sheet, in calendar order. Look for one image that is much darker, a repeated composition, an unexpected style change or a seasonal jump. Compare every approved filename with the manifest so an older export does not slip into the PDF.
Return each image to its actual template and inspect the crop. A contact sheet checks the family; it does not show whether a blossom disappears under the binding or a river edge crosses the dates. Extend backgrounds as required and keep essential art clear of the specified safe area.
Check resolution at the placed size and follow the supplier’s color, bleed and export instructions. Hide or remove template guides, reopen the exact exported files, and review the cover, all months, blank pages and page sequence. A new product size needs a new template check.
Inspect a physical sample before making claims about printed color, paper, binding or writing quality. Show the actual calendar format in the listing and make the year and week start clear. Keep the art manifest, editable layout, template version and approved exports together for the next edition.


