 PODspy

There isn’t one wrap size for every 20 oz tumbler. For print on demand, start with the wraparound print area for your exact product and provider. For a blank you’ll press yourself, use the supplier’s template and check it against the cup. Once the template fits, compare the two edges where your artwork meets. A wrap can be the right size and still show a conspicuous join.
The creative shortcut
- Use the template for the exact tumbler model and print provider. The ounces describe capacity.
- Check whether the printable wall is straight or tapered before placing the art.
- Test the fit and the artwork join separately. Put names and faces away from the seam.
Find the wrap size for the exact tumbler
Choose the product and print provider first. In the product editor, select the wraparound print area and note the file dimensions, format, safe area and any bleed. If your product only offers a front print, use that print area instead. A full wrap file won’t turn a front-only placement into a full wrap.
Compare two catalog examples: Printify lists a cylindrical 20 oz stainless steel tumbler at 3.11 inches across and 8.42 inches tall. Its 20 oz SPOKE tumbler is listed at 6.77 inches tall and 2.83–3.39 inches across. Those are dimensions of the products, not dimensions to type into your design file. Even on the same platform, switching between these two 20 oz products means checking the print area again.
Tell a straight wrap from a tapered wrap
A cylindrical print zone opens into a rectangle. A conical print zone, wider at one end, opens into a curved shape. Follow the supplier’s template or editor. Some fulfillment editors accept a rectangular upload and handle the mapping themselves. If the template is curved, place artwork on that shape instead of stretching a rectangular design to the outer bounds.
If you’re pressing your own blank, measure around the wall at the top and bottom of the area you plan to print. Measure along the wall between those points and leave out the lid and any rounded edges beyond the print zone. Use the blank maker’s template where possible. For a paper fit check, print at actual size, cut along the template outline, and wrap it around the blank. A join that closes at the top but gaps at the bottom is a cue to recheck taper and scale before editing the artwork. The paper check cannot tell you how the ink will transfer.
Use a simple strip to diagnose a visible join
On a copy of the file, place a few bold, unevenly spaced dots near the left and right edges. Make one matched pair near the top and another near the bottom, well away from the rim. Preview the back of the cup or wrap the paper copy around your blank. If both pairs miss by a similar amount, recheck the print scale, width and trim. If one pair meets and the other drifts, recheck template shape, placement angle and taper. If the dots meet but the finished artwork jumps at the join, adjust the artwork. Remove the dots before export.
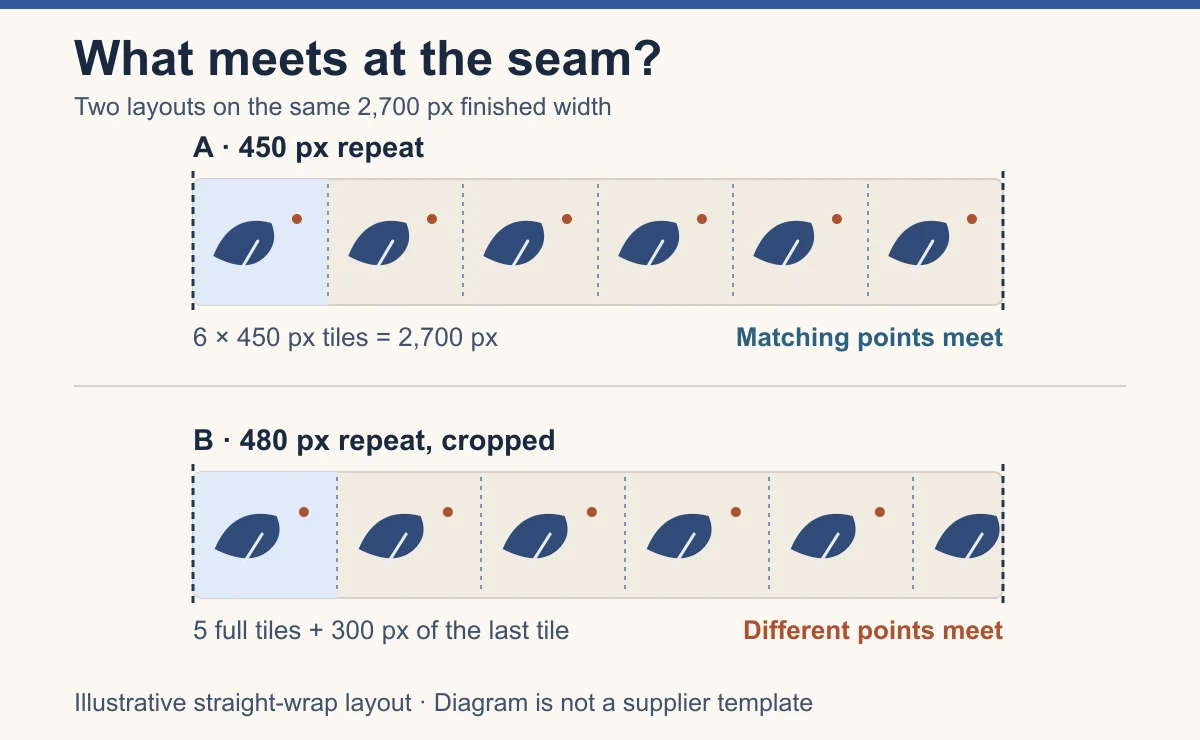
Here’s a straight-wrap example with an illustrative 9 × 8-inch finished area. At 300 pixels per inch that’s 2,700 × 2,400 pixels before any separate bleed. Six repeats of a 450-pixel tile fit the 2,700-pixel width exactly. Six repeats of a 480-pixel tile would take 2,880 pixels. Cropping that layout at 2,700 pixels cuts 180 pixels from the last repeat, so the edges meet at different points in the motif. For a perfect digital match, make a 450-pixel version of the tile or rebuild it at that width, then lay out six repeats across the finished area. If your template calls for bleed, continue the background past the finished line.
An exact digital match is a useful check, but the real print can shift. Place a name or focal image away from the seam and keep the background near the join quiet. A few small leaves on a solid ground are easier to join than a horizontal stripe or a face. If your provider warns against matching art across the seam, place the focal design on one side and let only the background reach the join.
Start with artwork you can arrange around the cup
Open the brief below in PODspy to start a sheet of motifs from an editable prompt. After you choose to generate, keep the individual shapes you want, then arrange them on your provider’s template. Set the background on its own layer. Try a compact leaf cluster on the front and a sparse version near the join. Keep personalization as editable text in your layout so you can check each name before export.
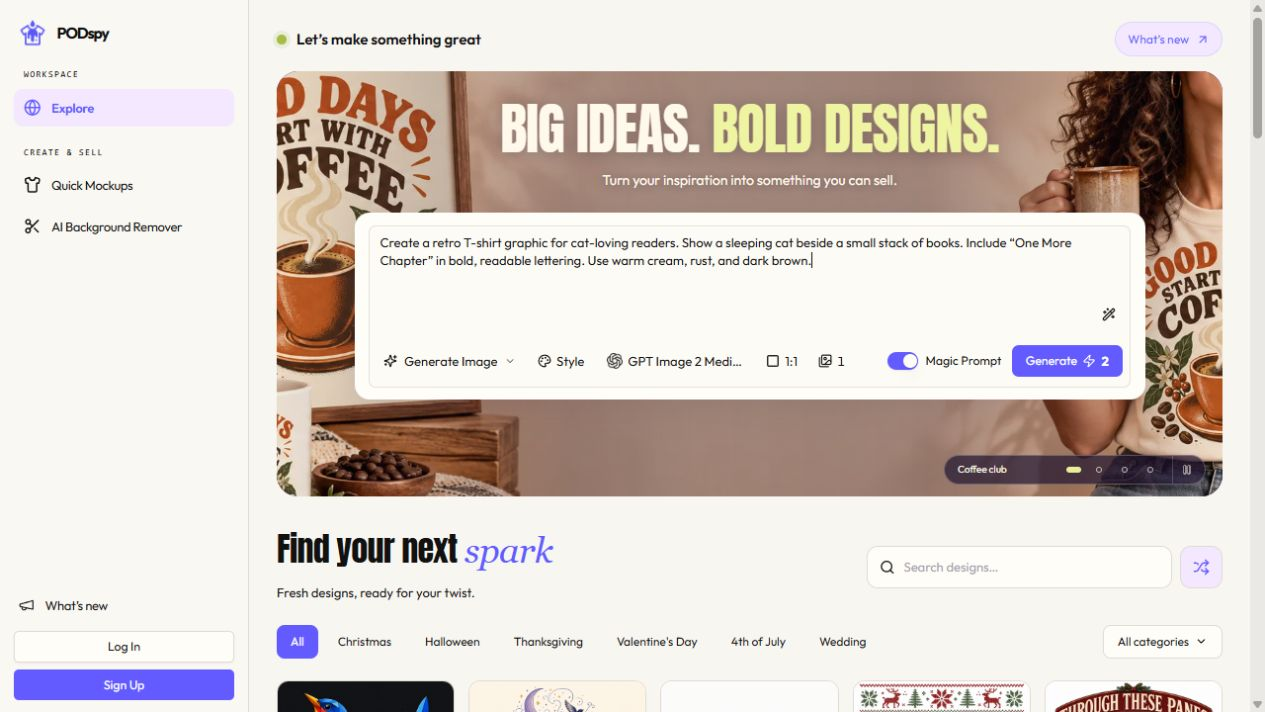
Create a flat artwork sheet of six separate ginkgo leaf fan motifs for a tall tumbler wrap. Use indigo, slate blue and a few muted rust-orange buds. Give the leaves simple closed silhouettes and bold vein shapes. Leave generous blank space between motifs on a uniform pale warm ivory background so I can separate and reposition them. No lettering, no borders, no mockup, no product photo, no shadows and no guide marks.
Check all the way around before listing
Hide construction guides and test dots. Export the file at the provider’s requested dimensions and format. In the upload preview, inspect the front, back and both sides if available. Confirm the name is readable, the background reaches the required boundary, and nothing essential crosses the join. Save the file with the product model or SKU in its name so you can tell which template it fits later.
A mockup is useful for placement. If seam quality matters to your listing, check a physical sample from the same provider before making a promise about how the join looks. If you also sell mugs, make a separate layout for the handle clearance.


