 PODspy

The easiest way to get a folded greeting card wrong is to design the front in isolation. Decide how the card opens, then map the front, back and inside panels in the printer’s template. A simple fold proof can catch an upside-down message or a front cover on the wrong side before the file goes to print.
The creative shortcut
- Start with the printer’s exact folded size and upload format.
- Label the outside and inside panels before adding artwork.
- Check the export with a digital preview or a plain-paper fold before you list the card.
Find the folded size and upload format
Choose the exact card and orientation before sizing the artwork. A portrait card that measures 4 × 6 inches when closed opens to an 8 × 6-inch spread before bleed. If the provider asks for separate panels, each panel starts with the single-face dimensions and its own template rules.
Check whether your provider wants two spreads in a PDF or artwork for separate editor placements. Gelato’s print-ready workflow asks for one PDF with the outside and inside pages. CatPrint shows how to place artwork on full unfolded files and gives different layouts for portrait and landscape cards. Use the provider’s instructions for page order, orientation, bleed and file type.
Map the four panels before placing artwork
For the left-hinge portrait card below, put the back on the left and the front on the right of the outside spread. On the inside spread, leave a writing area on the left and put the greeting or a small accent on the right. Use a temporary upward arrow on each panel so orientation is easy to compare. Keep the arrows on a proof layer so you can hide them before export.
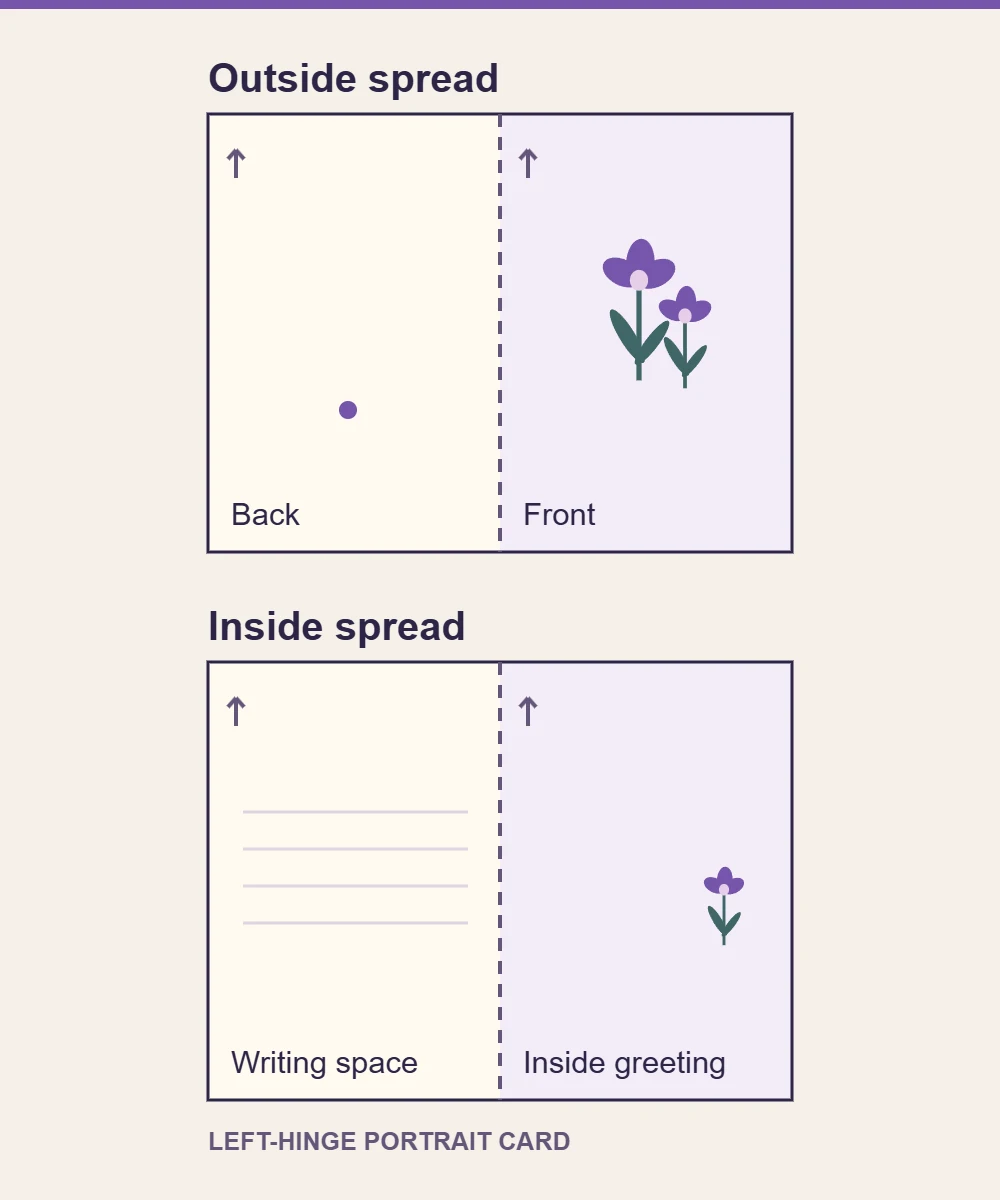
A top-fold card can require a different arrangement. For example, CatPrint puts the back above the front and rotates the back for its landscape layout. Use the exact fold and orientation guides if your design opens up instead of sideways.
Check the edges and the fold separately
If this example’s printer requires one-eighth inch of bleed on all four outer edges, the 8 × 6-inch spread becomes 8.25 × 6.25 inches. A raster file at 300 pixels per inch would be 2,475 × 1,875 pixels. Use the printer’s actual template and resolution guidance. In a layout editor, extend backgrounds through the required bleed and keep the logo, greeting and artwork focal point inside the marked safe areas.
Check the fold as a separate boundary. Paper can shift a little at the score, and card products can handle the fold differently. Gooten, for example, describes a slight offset with a white fold on its folded cards. Keep an exact color change or a fine border away from the fold if a narrow shift would make it look uneven.
Make cover artwork with room for a greeting
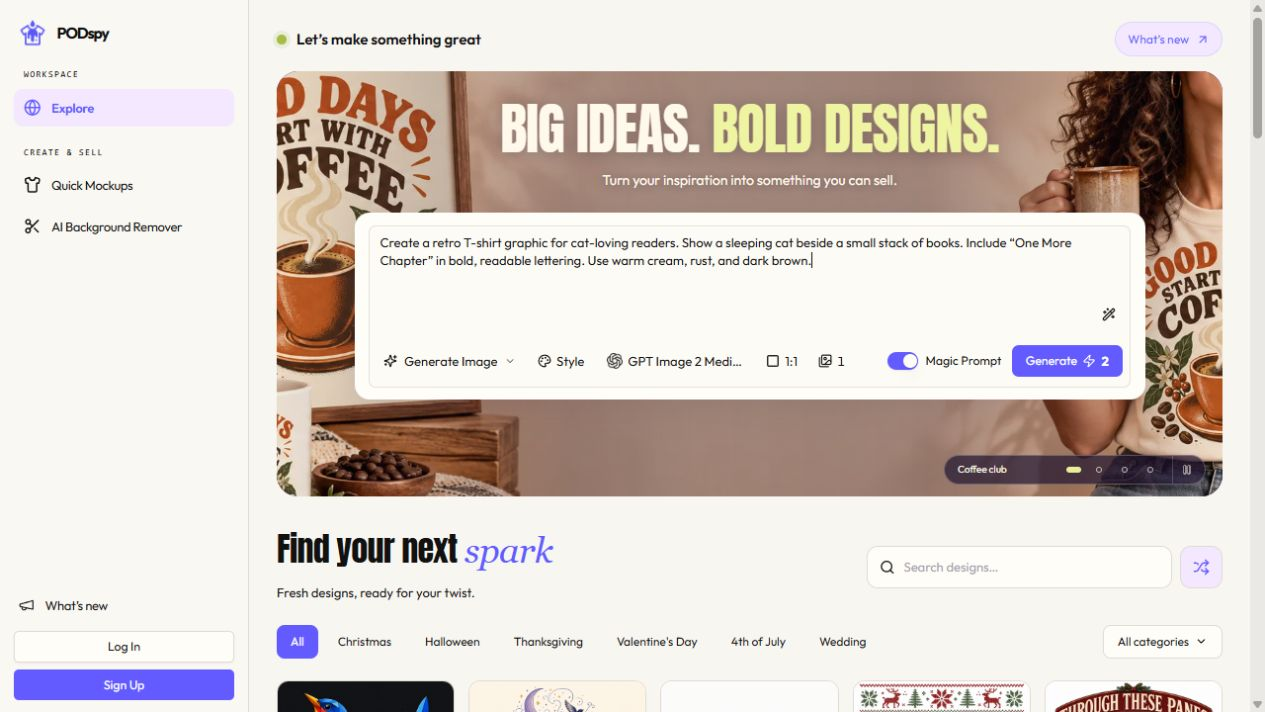
Start with one compact iris cluster on the front and save a small leaf or bloom for the inside. The prompt opens as editable text in PODspy’s Generate Image workspace. Once you choose to generate, place the selected artwork on its own layer and add any greeting in your layout editor. Leave enough room for a handwritten note if the card will have a printed inside.
Create a flat portrait artwork motif for the front of a folded greeting card: three violet iris blooms with simple teal leaves and one small terracotta bud. Use a loose gouache illustration style with clear silhouettes and a compact, balanced bouquet. Keep generous plain warm ivory space surrounding the cluster, especially above the flowers for a separate greeting. Show artwork only. No words, letters, envelope, card mockup, border, shadow or template marks.
Check the folded card before sending the file
Make a proof copy with each panel labeled and an up arrow on both spreads. Preview the export as a folded card if your printer offers that view. For a paper check, print the two spreads separately at actual size on paper large enough to fit them. Measure one example panel to confirm the size. Place the spreads back to back with the top edges and fold lines aligned, secure them with a little tape and fold along the line.
Check it in the order the recipient sees it. The front cover should face you with the hinge at the left. Open it to make sure the inside accent and message are upright and the writing space is clear. Close it and turn it over to check the back. Remove the proof labels and template guides, export the required format, then reopen the final file to check both pages.


